
In this blog, I’ll walk you through how to deploy the Zezo OTT API step by step, in a simple and easy-to-follow way.
Before we get started, there’s one important requirement. To use any Zezo services, you must have a Zezo account. This account gives you access to the Zezo platform, APIs, and developer tools needed to deploy your OTT solution.
If you haven’t created your Zezo account yet, don’t worry—it only takes a few minutes. You can follow our complete step-by-step guide here: 👉 How to Create an Account on Zezo https://blogs.zezo.in/blog/how-to-create-an-account-on-zezo
Once your account is ready, you’ll be all set to move forward and start deploying the Zezo OTT API with confidence.
Let’s get started 🚀
Once your Zezo account is successfully created, the next step is to access the Zezo Cloud platform.
Visit https://cloud.zezo.in or go directly to the Marketplace at: 👉 https://cloud.zezo.in/marketplace
From the marketplace, look for the Zezo OTT API product and click on it to open the product page.
If you prefer to jump straight to the product without browsing, you can use this direct link: 👉 https://cloud.zezo.in/marketplace/app/zezo-ott-api
Before moving forward, take a moment to carefully read the product description. It explains the core features, use cases, and what you’ll get with the Zezo OTT API. Understanding this will help you deploy and use the API more effectively in your project.
Once you’re familiar with the product details, you’re ready to proceed to the next steps of deployment 🚀
After reading all the product details, click on the “Let’s Build” button.
Once you click it, a popup will appear to confirm the deployment. In this popup, you’ll also see your current wallet balance, so you know whether you have enough funds to continue.

If your wallet balance is low
If you don’t have enough balance in your wallet, you’ll be redirected to the Add Funds page.
Simply click Proceed, complete the payment, and once the payment is successful, the amount will be instantly added to your wallet.
If you have sufficient balance
If your wallet has enough balance for deployment, the required amount will be automatically debited from your wallet, and the deployment process will start right away.
Once this step is complete, your Zezo OTT API setup will be created, and you’ll be ready to move forward.
Once the project is successfully created, you’ll be automatically redirected to the project management page.
From there, you can view and manage your project directly from the Zezo Console. All your created projects will be listed in one place, making it easy to monitor settings, configurations, and next steps.

Configure Environment Variables Before Deployment
Before deploying the Zezo OTT API, you need to configure the required environment variables. These variables allow the API to connect with your frontend, database, authentication system, and other services.
You can update some of these values later, but it’s recommended to configure them properly before going live.
Required Environment Variables
FRONTEND_URL
Add your website URL here.
Example: https://yourwebsite.com
(You can update this later if your website is not ready yet.)
BASE_URL_API
Add your API domain URL.
Example: https://api.yourdomain.com
APP_NAME
Your platform or application name.
Example: ZezoOTT
CORS_ORIGIN_HOST
Add your frontend website URL for CORS configuration.
Example: https://yourwebsite.com,https://admin.yourwebsite.com
DB_CONNECTION
Your MongoDB connection string with database name.
Example:
mongodb+srv://username:password@cluster.mongodb.net/zezo-ott
REDIS_URL
Your Redis instance URL.
Example:
redis://username:password@host:port
COOKIE_DOMAIN
Your root domain name.
Example:
yourdomain.com
INFISICAL_MACHINE_IDENTITY_CLIENT_ID Add your Infisical machine identity client ID.
INFISICAL_MACHINE_IDENTITY_CLIENT_SECRET Add your Infisical machine identity client secret.
INFISICAL_PROJECT_ID Add your Infisical project ID.
JWT_PRIVATE_KEY Your JWT private key used for signing tokens.
JWKS_URI Add your JWKS (JSON Web Key Set) URL.
JWT_ISSUER
Issuer name for JWT tokens.
You can use your platform name or domain.
Example: zezo.in or ZezoOTT
I’ve already created a detailed guide on how to create your own MongoDB Atlas database.
You can follow that guide step by step by visiting the link below: 👉 https://blogs.zezo.in/blog/create-your-own-mongodb-atlas-database
Once you’ve completed all the steps in that guide, you’ll have your own MongoDB database ready to use with the Zezo OTT API.
After you get your MongoDB database connection URL, go back to your Zezo project.
- Open your project in the Zezo Console
- Click on the Environments tab
- Find the
DB_CONNECTIONenvironment variable - Replace the existing value with your MongoDB database URL
- Save the changes
Once the DB_CONNECTION variable is updated, your project will be successfully connected to your database and ready for the next deployment steps 🚀
I’ve already created a detailed guide on how to create your own Redis database.
You can follow that guide step by step by visiting the link below: 👉 https://blogs.zezo.in/blog/how-to-create-a-redis-database
Once you’ve completed all the steps in that guide, you’ll have your Redis database ready to use with the Zezo OTT API.
After you get your Redis connection URL, go back to your Zezo project.
- Open your project in the Zezo Console
- Click on the Environments tab
- Find the
REDIS_URLenvironment variable - Replace the existing value with your Redis connection URL
- Save the changes
Once the REDIS_URL variable is updated, your project will be successfully connected to Redis and ready for the next deployment steps 🚀
I’ve already created a detailed guide on how to create an Infisical account and configure secrets for Zezo OTT.
You can follow that guide step by step by visiting the link below: 👉 https://blogs.zezo.in/blog/configure-secrets-for-zezo-ott-using-infisical
Once you’ve completed all the steps in that guide, your Infisical project and secrets will be properly configured for the Zezo OTT API.
After setting up Infisical, go back to your Zezo project.
- Open your project in the Zezo Console
- Click on the Environments tab
- Verify that all Infisical-related environment variables are added and correctly configured
- Save the changes if required
Once Infisical is configured, your secrets will be securely managed and your project will be ready for the next deployment steps 🚀
🔑 Generate RSA Keys & JWKS using Zezo Tools
To simplify key generation for Zezo OTT authentication, we provide an online key generator tool that helps you create RSA keys and JWKS instantly, without using OpenSSL or CLI commands.
👉 Tool URL: https://tools.zezo.in/
This tool is designed for:
- Zezo OTT Auth Server
- JWT signing (RS256)
- JWKS-based public verification
🧭 Step-by-Step Flow
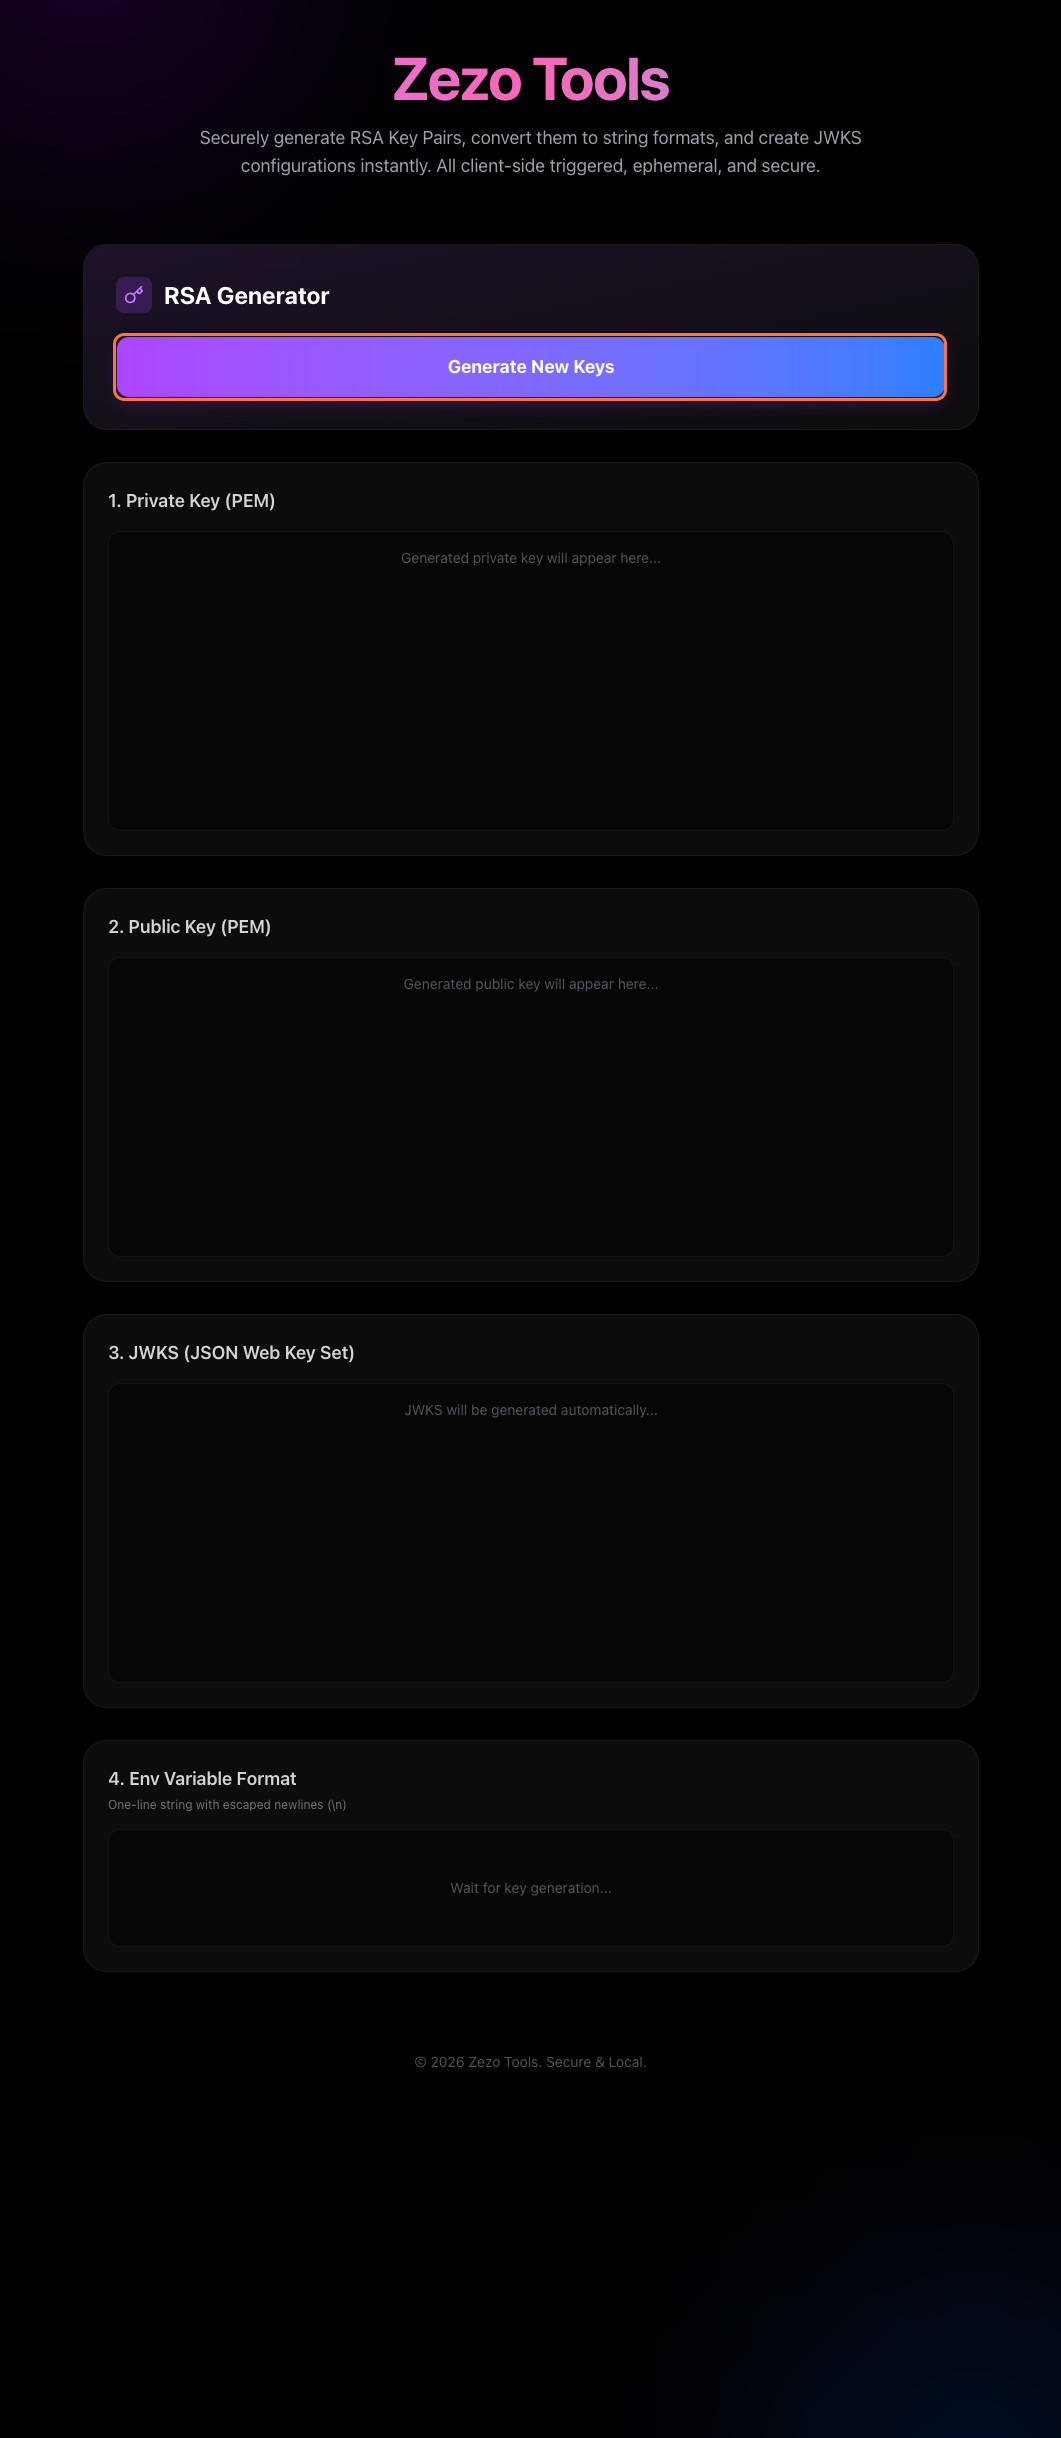
Step 1: Visit Zezo Tools
Open your browser and go to:
https://tools.zezo.in/
Step 2: Generate New Keys
- Click on Generate New Keys
- The tool will automatically generate:
- 🔐 RSA Private Key
- 🌍 RSA Public Key
- 📄 JWKS JSON
- 🧪 Private Key ENV format
No backend data is stored.
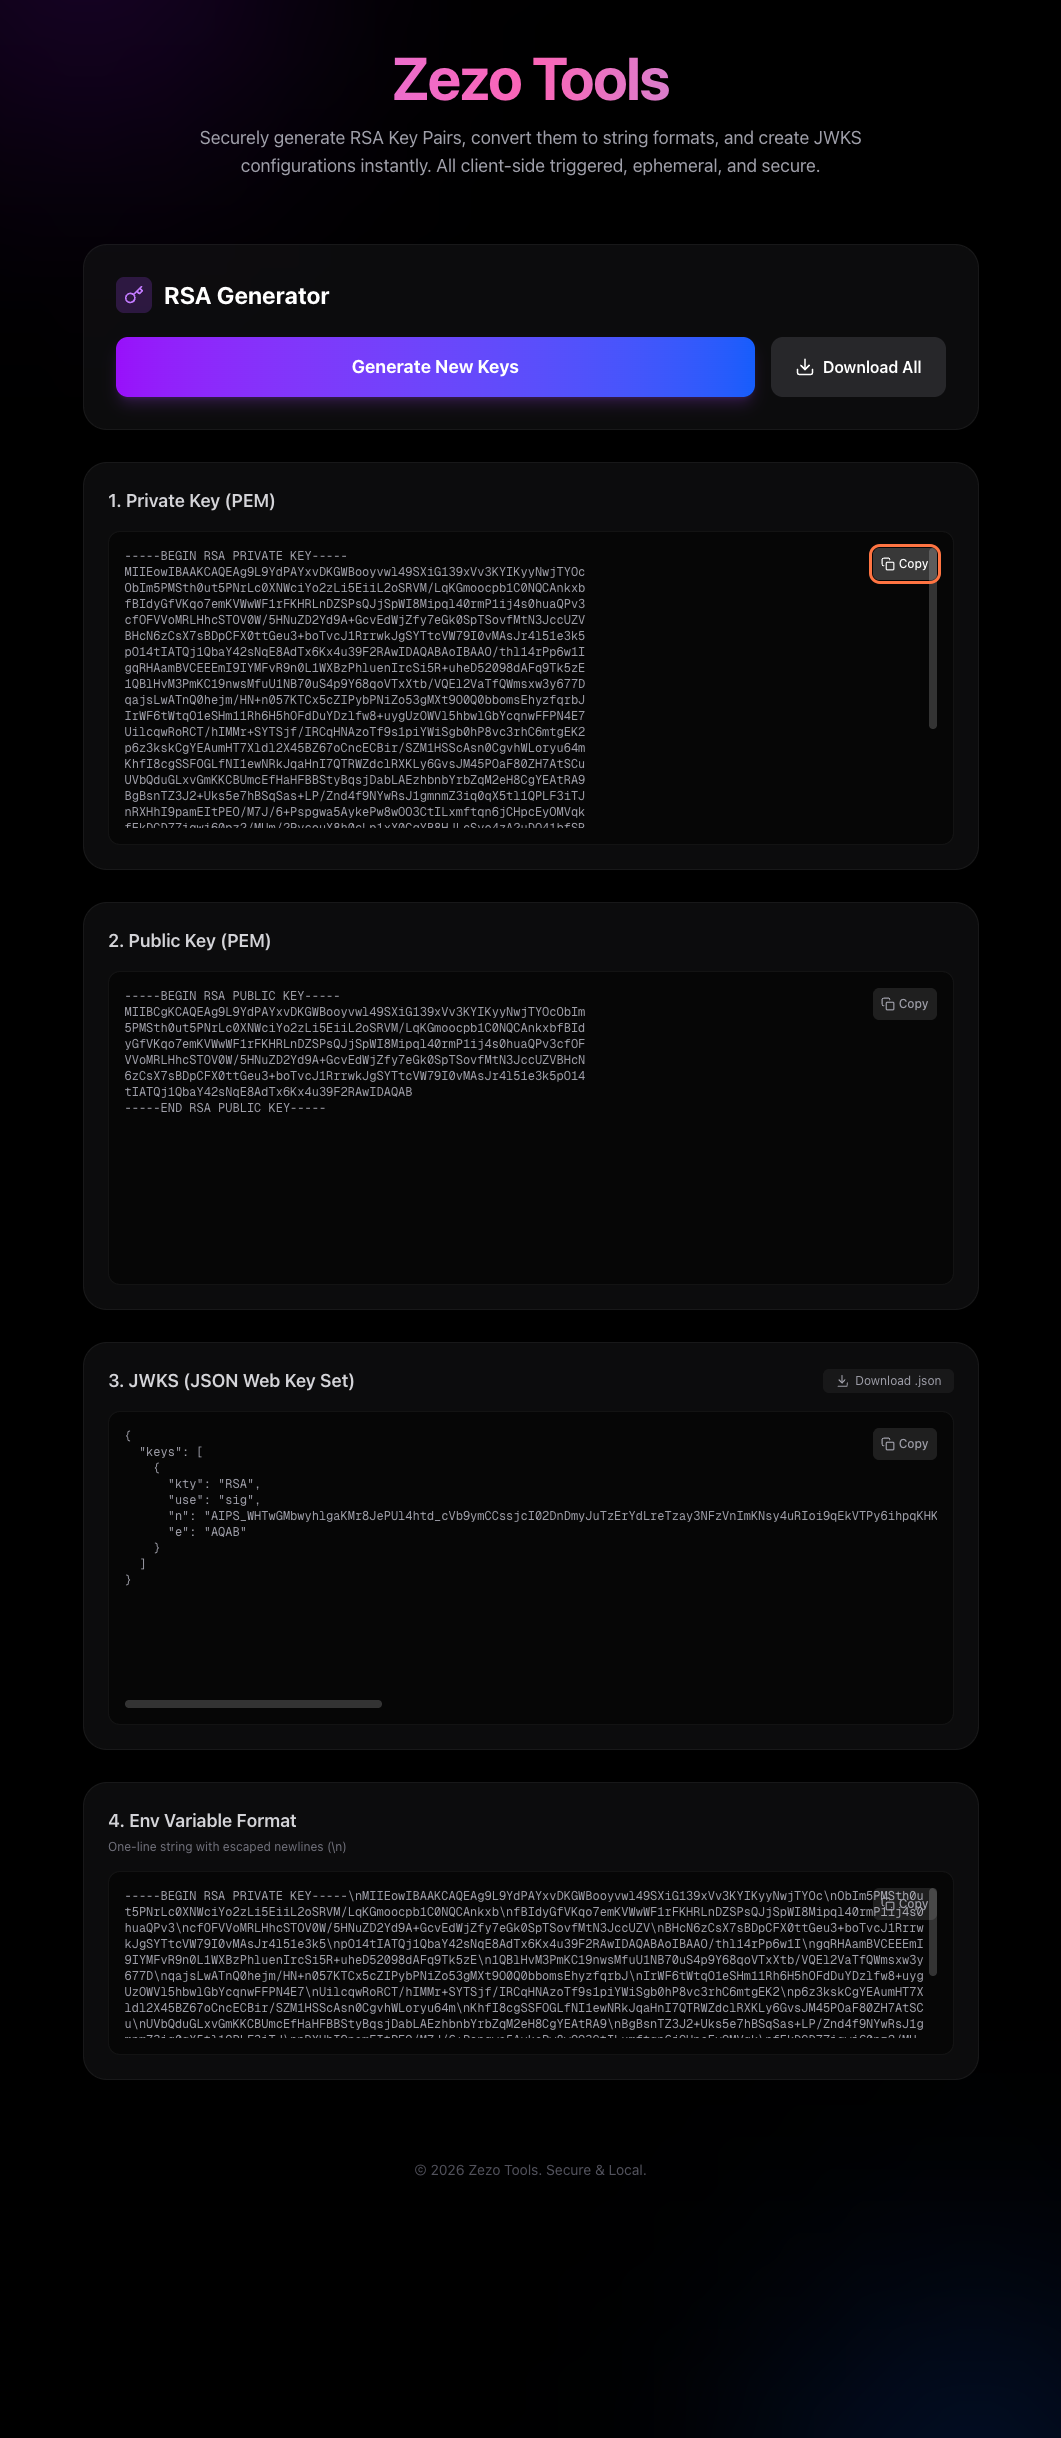
Step 3: Copy Required Values
From the generated output, copy what you need:
🔐 Private Key (for Auth Server)
Used to sign JWT tokens.
🌍 JWKS (for public verification)
Used by apps and services to verify tokens.
🧪 Private Key ENV String
Ready-to-paste environment variable format.
Example:
JWT_PRIVATE_KEY="-----BEGIN RSA PRIVATE KEY-----\nMIIEowIBAAKCAQE...\n-----END RSA PRIVATE KEY-----"
⚠️ Important:
- Never expose the private key publicly
- Store it only in environment variables or secret managers
📥 Step 4: Download JWKS File
- Click Download JWKS
- This downloads a file like: jwks.json
This file will be uploaded to S3 and made publicly accessible.
☁️ Step 5: Upload JWKS to S3 (DigitalOcean Spaces)
Zezo OTT supports S3-compatible storage. Here we use DigitalOcean Spaces.
Upload Instructions
- Open your DigitalOcean Spaces
- Upload
jwks.json - Set file access to Public
- Enable CDN (recommended)
Example path:
.well-known/jwks.json
🌍 Step 6: Copy Public CDN URL
After upload, copy the CDN/public URL.
Example:
https://zezo-auth.nyc3.cdn.digitaloceanspaces.com/.well-known/jwks.json
⚙️ Step 7: Set Environment Variables
Add the following to your Zezo OTT API Project
JWT_PRIVATE_KEY=-----BEGIN RSA PRIVATE KEY-----.....-----END RSA PRIVATE KEY-----\n
JWT_ISSUER=Your Project Name like Zezo OTT
JWKS_URI=https://zezo-auth.nyc3.cdn.digitaloceanspaces.com/.well-known/jwks.json
🚀 Deploy Your Zezo OTT Project
Now that all environment variables and secrets are configured, your project is ready to go live.
- Go to your Project Dashboard
- Review once that:
- Environment variables are set
- JWKS URL is correct and publicly accessible
- No validation errors are shown
- Click on Deploy Now 🚀
- Wait for the deployment process to complete
⏳ Deployment Status
- Building → Project is being prepared
- Deploying → Services are starting
- Active ✅ → Your project is live and running
Once the status changes to Active, your Zezo OTT backend is successfully deployed.
🎉 Post-Deployment Setup: Create Admin & Website
Once your project status is Active, the final step is to create your Admin panel and Website, then connect them to your Zezo OTT backend.